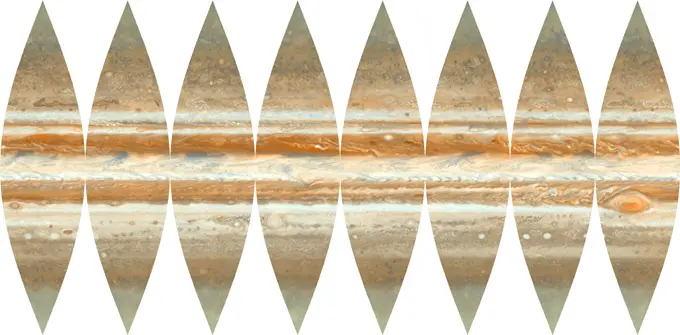
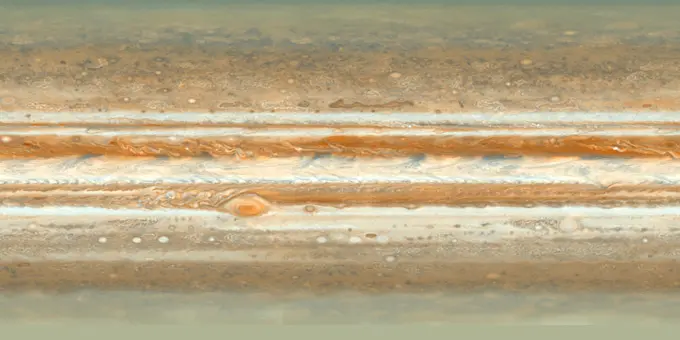
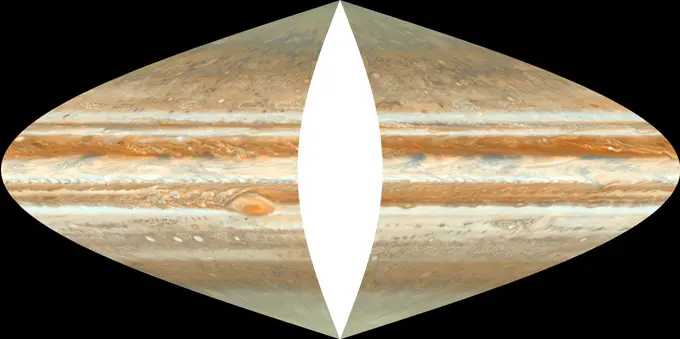
Interrupted Sinusoidal projection produced from equiangular image of Jupiter found on NOAA's website here. While an interrupted Sinusoidal projection may not be supported by general mapping community software, it could come in handy. For example, it's useful when printing giant light-up inflatable globes, a fun project perused here for a Space Foundation parade float. Here are basic notes used to complete this project.
Install GDAL
Install GDAL (Geospatial Data Abstraction Library), downloading it from here. This library comes with some great command line tools used to work with raster geospatial data formats. Installation and usage varies per OS. I used a Mac for this example.
Download a Favorite ECE Image
Equatorial Cylindrical Equidistant (ECE) images are a popular projection format used and shared by scientists and cartographers. While other projections could be used, I found the ECE format to be convenient, especially with after creating content for Science On a Sphere, which displays this format on a large globe hanging from a ceiling.
Here are a couple quick links that have ECE images available to play with: [NOAA's Science On a Sphere website] -link archived- Several datasets are available containing ECE images for download (FTP links). Check credits and get permission as needed if redistributing data. JHT's Planetary Pixel Emporium This guy combined lots of data and personal painting touches to create several beautiful looking maps all available in one convenient location.
Determine Number of Segments
Interrupted Sinusoidal projections can be made up of any number of segments. I most commonly found twelve segments used via Google searches. The inflatable globe printer I was working with required eight segments.
Create Offset Map Images
In a later step, the center of eight Sinusoidal projections need to be cut out and combined to form a final image. To make that simper, first create eight new ECE images, offsetting the map in 1/8th intervals. For an image that is 4096 pixels wide, offset each image (after the first) by and additional 512 pixels. These images will soon get converted into Sinusoidal projections.
Convert Map Images Into Geogiffs
Images need to be converted into geotiffs that define some basic geospacial data (world boundaries, projection format) so that they can be reprojected into Sinusoidal projections in the next step. Using the command line:
gdal_translate -of gtiff -a_srs epsg:4326 -a_ullr -180 90 180 -90 -co tiled=no -co compress=lzw input1.tif input1.gtif

gdal_translate -of gtiff -a_srs epsg:4326 -a_ullr -180 90 180 -90 -co tiled=no -co compress=lzw input2.tif input2.gtif

gdal_translate -of gtiff -a_srs epsg:4326 -a_ullr -180 90 180 -90 -co tiled=no -co compress=lzw input3.tif input3.gtif

gdal_translate -of gtiff -a_srs epsg:4326 -a_ullr -180 90 180 -90 -co tiled=no -co compress=lzw input4.tif input4.gtif

gdal_translate -of gtiff -a_srs epsg:4326 -a_ullr -180 90 180 -90 -co tiled=no -co compress=lzw input5.tif input5.gtif

gdal_translate -of gtiff -a_srs epsg:4326 -a_ullr -180 90 180 -90 -co tiled=no -co compress=lzw input6.tif input6.gtif

gdal_translate -of gtiff -a_srs epsg:4326 -a_ullr -180 90 180 -90 -co tiled=no -co compress=lzw input7.tif input7.gtif

gdal_translate -of gtiff -a_srs epsg:4326 -a_ullr -180 90 180 -90 -co tiled=no -co compress=lzw input8.tif input8.gtif
Reproject ECE Geotiffs Into Sinusoidal Projections
Sinusoidal projection is another very common geospacial data format. These will soon be broken up into an "interrupted" spin on on Sinusoidal (which isn't as commonly used).
gdalwarp -s_srs EPSG:4326 -t_srs '+proj=sinu +lon_0=0 +x_0=0 +y_0=0 +ellps=WGS84 +datum=WGS84 +units=m +no_defs' -r bilinear -te -20037508.343 -9988770.144 20024086.595 10001965.729 -overwrite input1.gtif sinu1.tif

gdalwarp -s_srs EPSG:4326 -t_srs '+proj=sinu +lon_0=0 +x_0=0 +y_0=0 +ellps=WGS84 +datum=WGS84 +units=m +no_defs' -r bilinear -te -20037508.343 -9988770.144 20024086.595 10001965.729 -overwrite input2.gtif sinu2.tif

gdalwarp -s_srs EPSG:4326 -t_srs '+proj=sinu +lon_0=0 +x_0=0 +y_0=0 +ellps=WGS84 +datum=WGS84 +units=m +no_defs' -r bilinear -te -20037508.343 -9988770.144 20024086.595 10001965.729 -overwrite input3.gtif sinu3.tif

gdalwarp -s_srs EPSG:4326 -t_srs '+proj=sinu +lon_0=0 +x_0=0 +y_0=0 +ellps=WGS84 +datum=WGS84 +units=m +no_defs' -r bilinear -te -20037508.343 -9988770.144 20024086.595 10001965.729 -overwrite input4.gtif sinu4.tif

gdalwarp -s_srs EPSG:4326 -t_srs '+proj=sinu +lon_0=0 +x_0=0 +y_0=0 +ellps=WGS84 +datum=WGS84 +units=m +no_defs' -r bilinear -te -20037508.343 -9988770.144 20024086.595 10001965.729 -overwrite input5.gtif sinu5.tif

gdalwarp -s_srs EPSG:4326 -t_srs '+proj=sinu +lon_0=0 +x_0=0 +y_0=0 +ellps=WGS84 +datum=WGS84 +units=m +no_defs' -r bilinear -te -20037508.343 -9988770.144 20024086.595 10001965.729 -overwrite input6.gtif sinu6.tif

gdalwarp -s_srs EPSG:4326 -t_srs '+proj=sinu +lon_0=0 +x_0=0 +y_0=0 +ellps=WGS84 +datum=WGS84 +units=m +no_defs' -r bilinear -te -20037508.343 -9988770.144 20024086.595 10001965.729 -overwrite input7.gtif sinu7.tif

gdalwarp -s_srs EPSG:4326 -t_srs '+proj=sinu +lon_0=0 +x_0=0 +y_0=0 +ellps=WGS84 +datum=WGS84 +units=m +no_defs' -r bilinear -te -20037508.343 -9988770.144 20024086.595 10001965.729 -overwrite input8.gtif sinu8.tif
Create Interrupted Sinusoidal Projection Segment Mask
That's a mouthful... (Experts: feel free to correct my lingo anytime). The center of each Sinusoidal projection gets segmented out and merged with other segments to form the final interrupted Sinusoidal projection image. An appropriately shaped mask needs to be created to knock out a segment of each Sinusoidal projection.
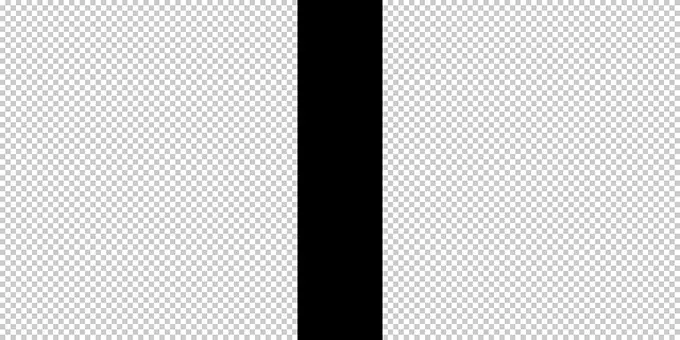
To create the mask shape, start with a transparent image in Photopshop sized the same as the original ECE image (4096x2048 pixels in my case). Center a colored box (any color, black shown here) that is 1/8th the width (512 pixels). Save the image as a .tiff, making sure that transparency is checked in the save options. The ECE segment shape is converted into a Sinusoidal segment shape with similar commands as used above, only with minor differences to handle an alpha channel:
gdal_translate -of gtiff -a_srs epsg:4326 -a_ullr -180 90 180 -90 -co tiled=no -co compress=lzw segmentECE.tif segmentECE.gtif

gdalwarp -s_srs EPSG:4326 -t_srs '+proj=sinu +lon_0=0 +x_0=0 +y_0=0 +ellps=WGS84 +datum=WGS84 +units=m +no_defs' -r bilinear -dstalpha -te -20037508.343 -9988770.144 20024086.595 10001965.729 -overwrite segmentECE.gtif segmentSinu.tif
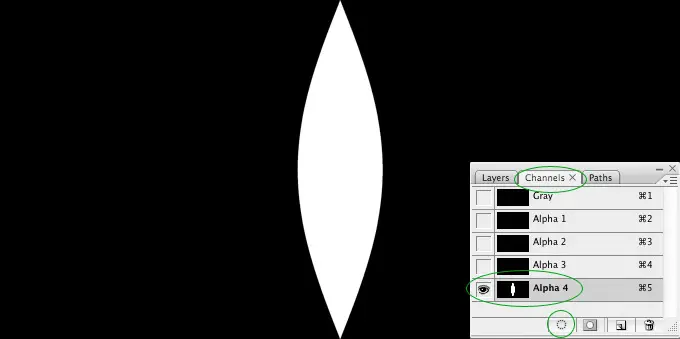
While black at first glance, the transparency information was moved to an alpha channel.
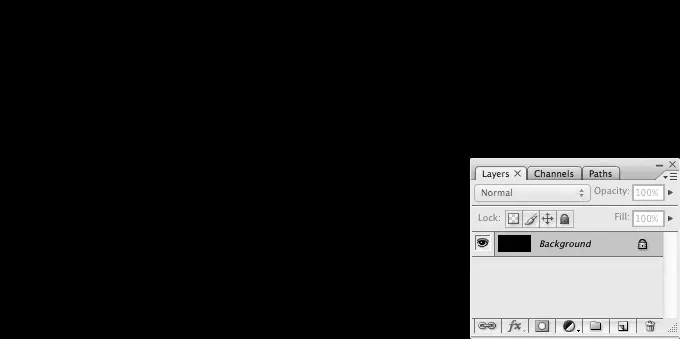
Clicking on the "Channels" tab reveals the shape segment shape data in an alpha channel. After selecting the later with the data, clicking the dotted circle at the bottom of the Channels tab loads the alpha channel as a selection. The selection can then be copied with (command+C on Mac), which places the shape in the clipboard.
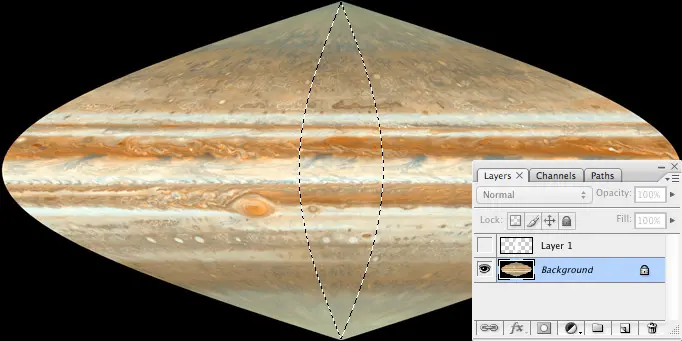
Opening up one of the Sinusoidal projections, the shape can be pasted (command+V on Mac), placing the shape in its own layer perfectly centered over the projection.
The pixel mask can be selected with a command+click (Mac, I think it's Ctrl+click on PC) on the shape thumbnail in the Layers tab. Selecting the original layer below and copying places the image segment data in the clipboard.
Piece Segments Together
Opening up a new Photoshop document at the original ECE size (4096x2048 in this case), then pasting, places the first interrupted segment in the final product. Repeating this step with all the images then arranging in order (it's easier to copy and paste images in order to help keep layers sorted).
Done!
That's it! Easy huh? Yeah, it kind of blew up my brain too. Posting here will make it easier to remember in the future if I ever decide to do this again, and perhaps help the next person attempting to make a giant planetary beach ball.
Posted: 2013-12-31
