My daughter asked me one day, "What music should I ask Alexa to play?" That question felt unusual. My better half and I have introduced her to all types of music via digital subscription services. However, she didn't own an MP3 player, cassette player, record player, or any other physical, non-internet-connected music-playing device. She only had access to the device listening to our every word in the living room, and she, of course, didn't have all these songs memorized except for a few kids' favorites.
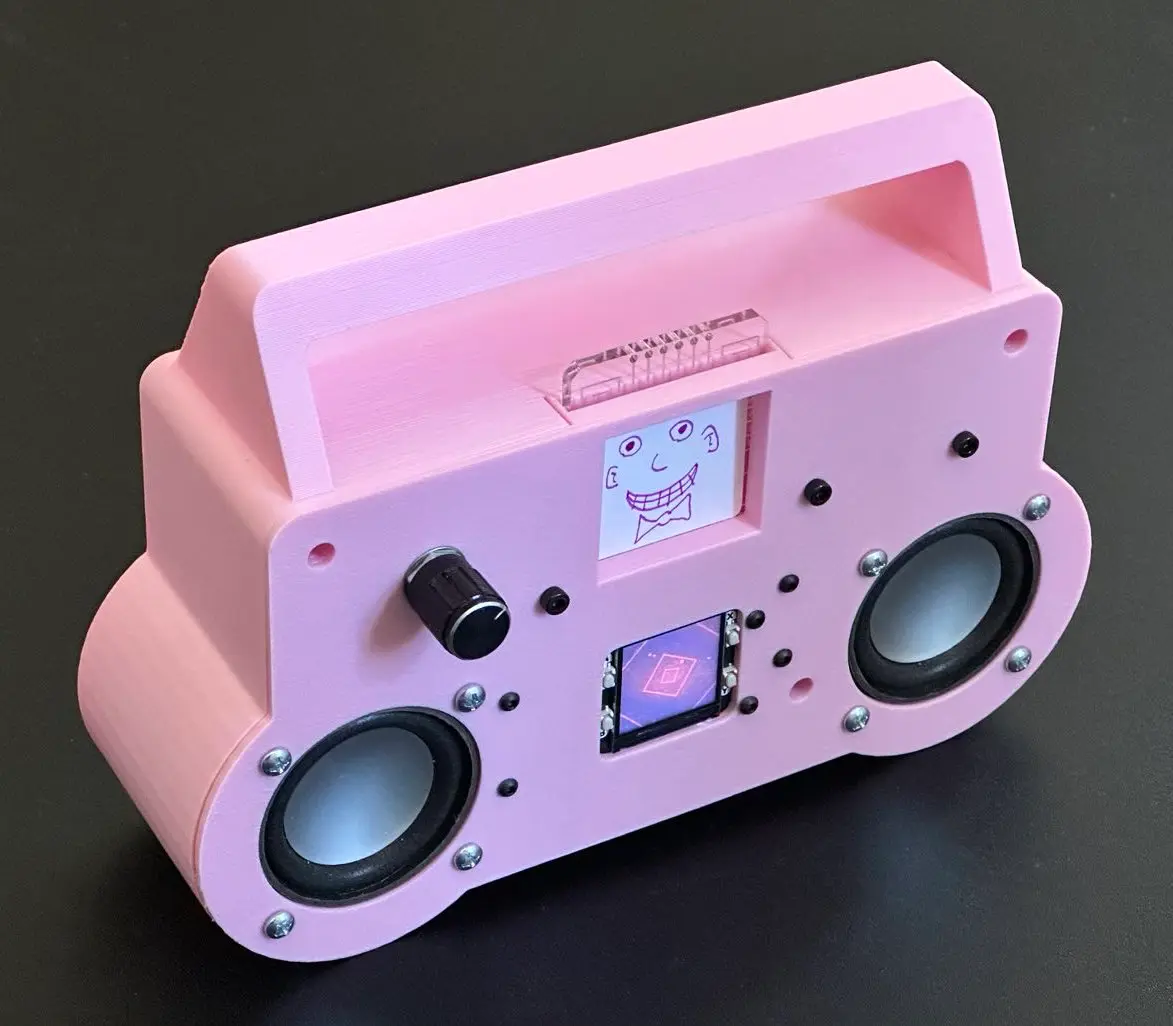
So... I made my daughter an RFID-triggered Raspberry Pi boombox for her birthday. It took a lot longer to build than I’d planned (well past her birthday), with many lessons along the way (my better half was not surprised). My daughter was involved in every step, picking out colors, helping in the music selection process, creating album covers, and playing with the electronics here and there as things came together (think Lego city of components covering the kitchen table). It was a blast, and perhaps it piqued her interest in future possibilities.
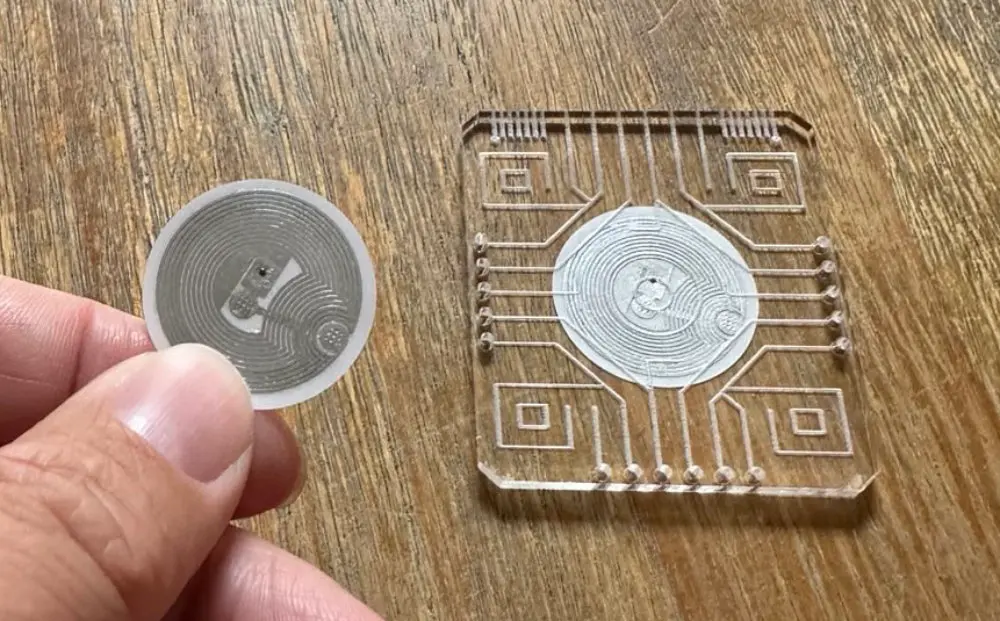
The RFID "cartridges" don't contain audio. Instead, audio is uploaded to the device ahead of time with programming to expect the RFID sticker's ID. The RFID reader scans the IDs repeatedly and plays an associated playlist as long as it detects an ID. Once the cartridge is removed, it pauses for a while (in case anyone changes their mind), then eventually stops/resets.
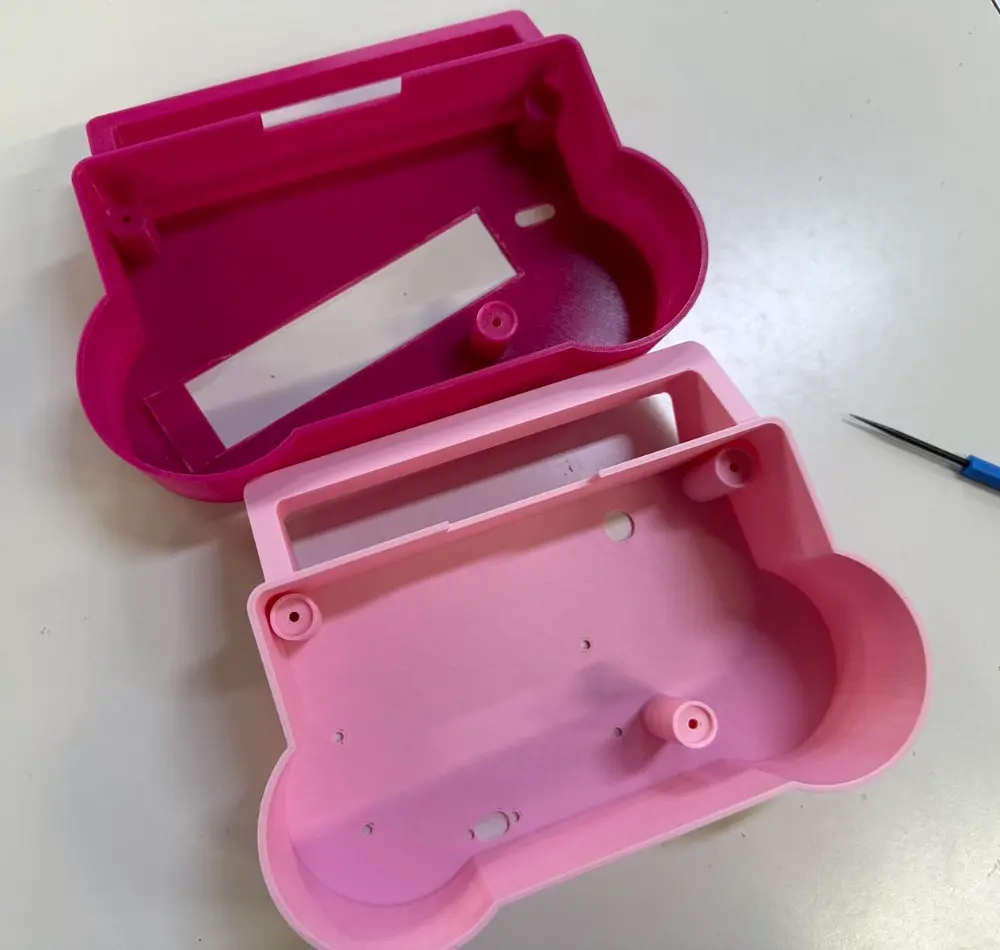
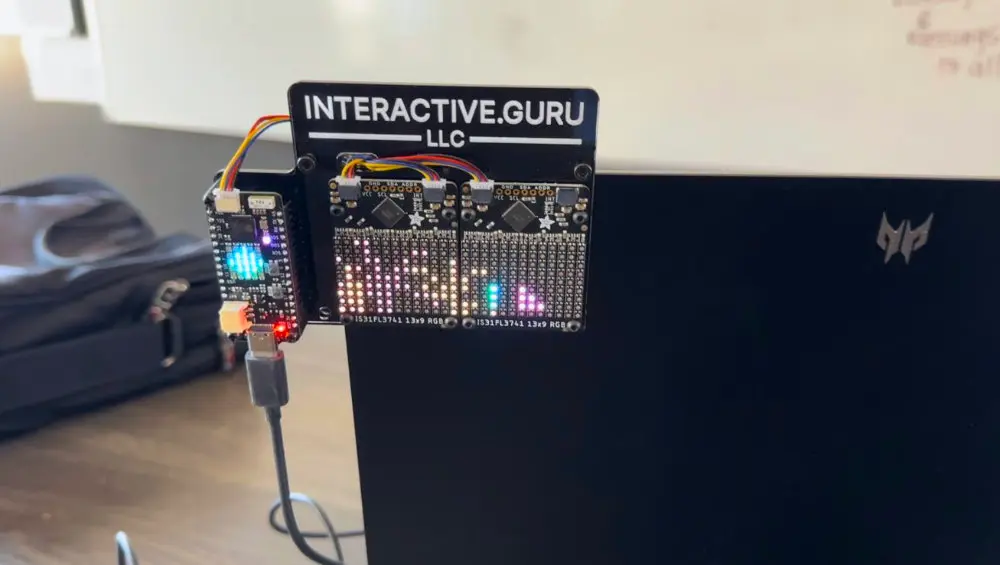
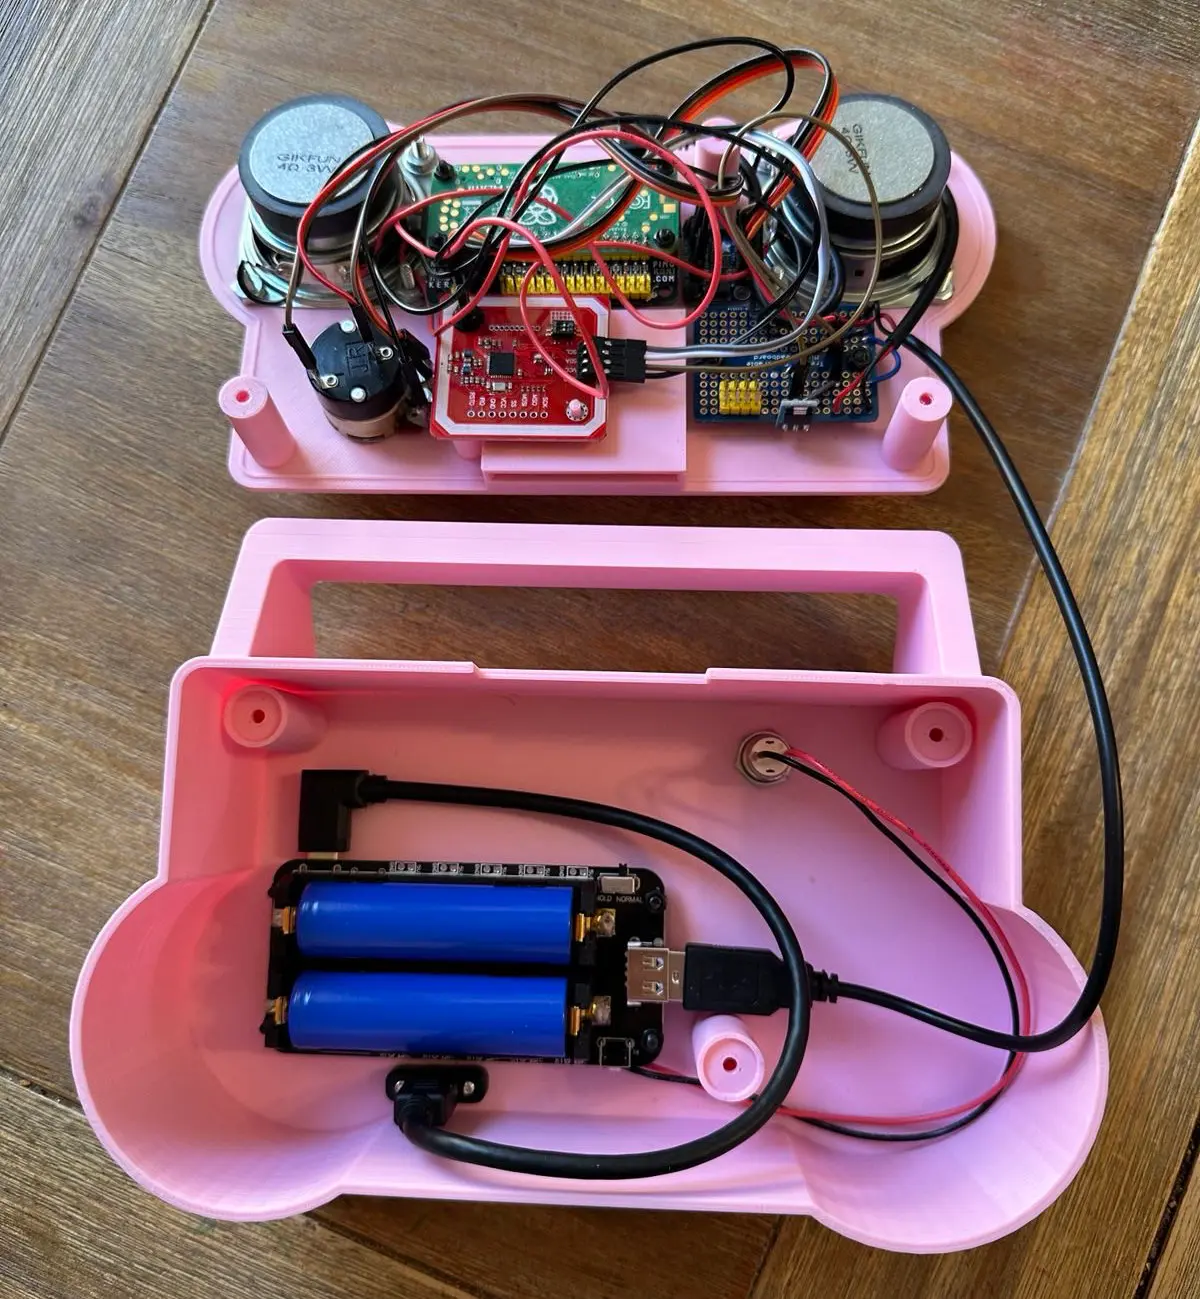
For me, this was a chance to work on enclosures and level up my electronics game a bit more. Most of my electronics projects have been piles of wires (though less so lately). As an enjoyer of Blender, I used the CAD Sketcher Blender add-on for parametric precision modeling. That allowed for adjustments as I iterated on the boombox case design. I also received a lot of good tips from other 3D printing gurus at my makerspace. There's still room for improvement next time I design a case. We learn as we go!
My daughter loves her boombox. Mission success. 😊
Lessons for the Future:
- A Raspberry Pi is cool and has been OK for Spotify streaming (until I ran an OS update and it no longer worked). However, there's about a 30-second delay while the device boots. That's FOREVER to a kid who just wants music! Perhaps an Adafruit MusicMaker on an Arduino will offer faster playback next time.
- Consider placing the enclosure bolts in the print while printing. I saw this done elsewhere, and it would save a lot of time connecting the front and back of the case.
- The front and back didn't stay together all that well. The seam is a bit loose as the screwed-on hardware shifts things slightly. I'll keep learning new enclosure techniques.
- I need to build a custom battery power supply so the front power/volume switch can just work. I had to add a second button on the back to turn on the battery pack because its "always on" switch option caused it to heat up. Not great for a child's toy. Wow!
- A tech guru told me that I could add holes in the back for the speakers to create more bass (whoa!).
Posted: 2025-02-01